Fly Lines – A Fly Line Primer (part 3 of 3)
by George Roberts
Continued from part 2……
Tweaking Lines for Enhanced Performance
You certainly can fish a fly line right out of the box with no alterations, but there are a number of enhancements you can make to improve their function and performance.
Marking Lines for Length and Weight
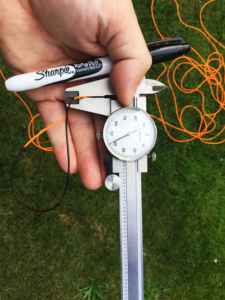
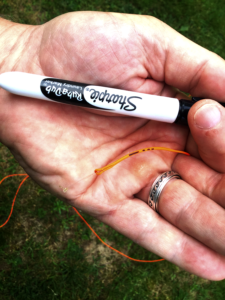
[Figure 2. You can find the end of the head section on any fly line using a dial caliper. Use a Sharpie laundry marker to mark the end of the head with a six-inch band around the circumference of the fly line.]
Some talk about this as if it’s a mystical thing that happens only occasionally when the moon and stars align.
However, now that you know how a long cast works you automatically know where the sweet spot is. Whether you’re a beginner or a more advanced caster, marking the head of your fly line will make your long casts more consistent.
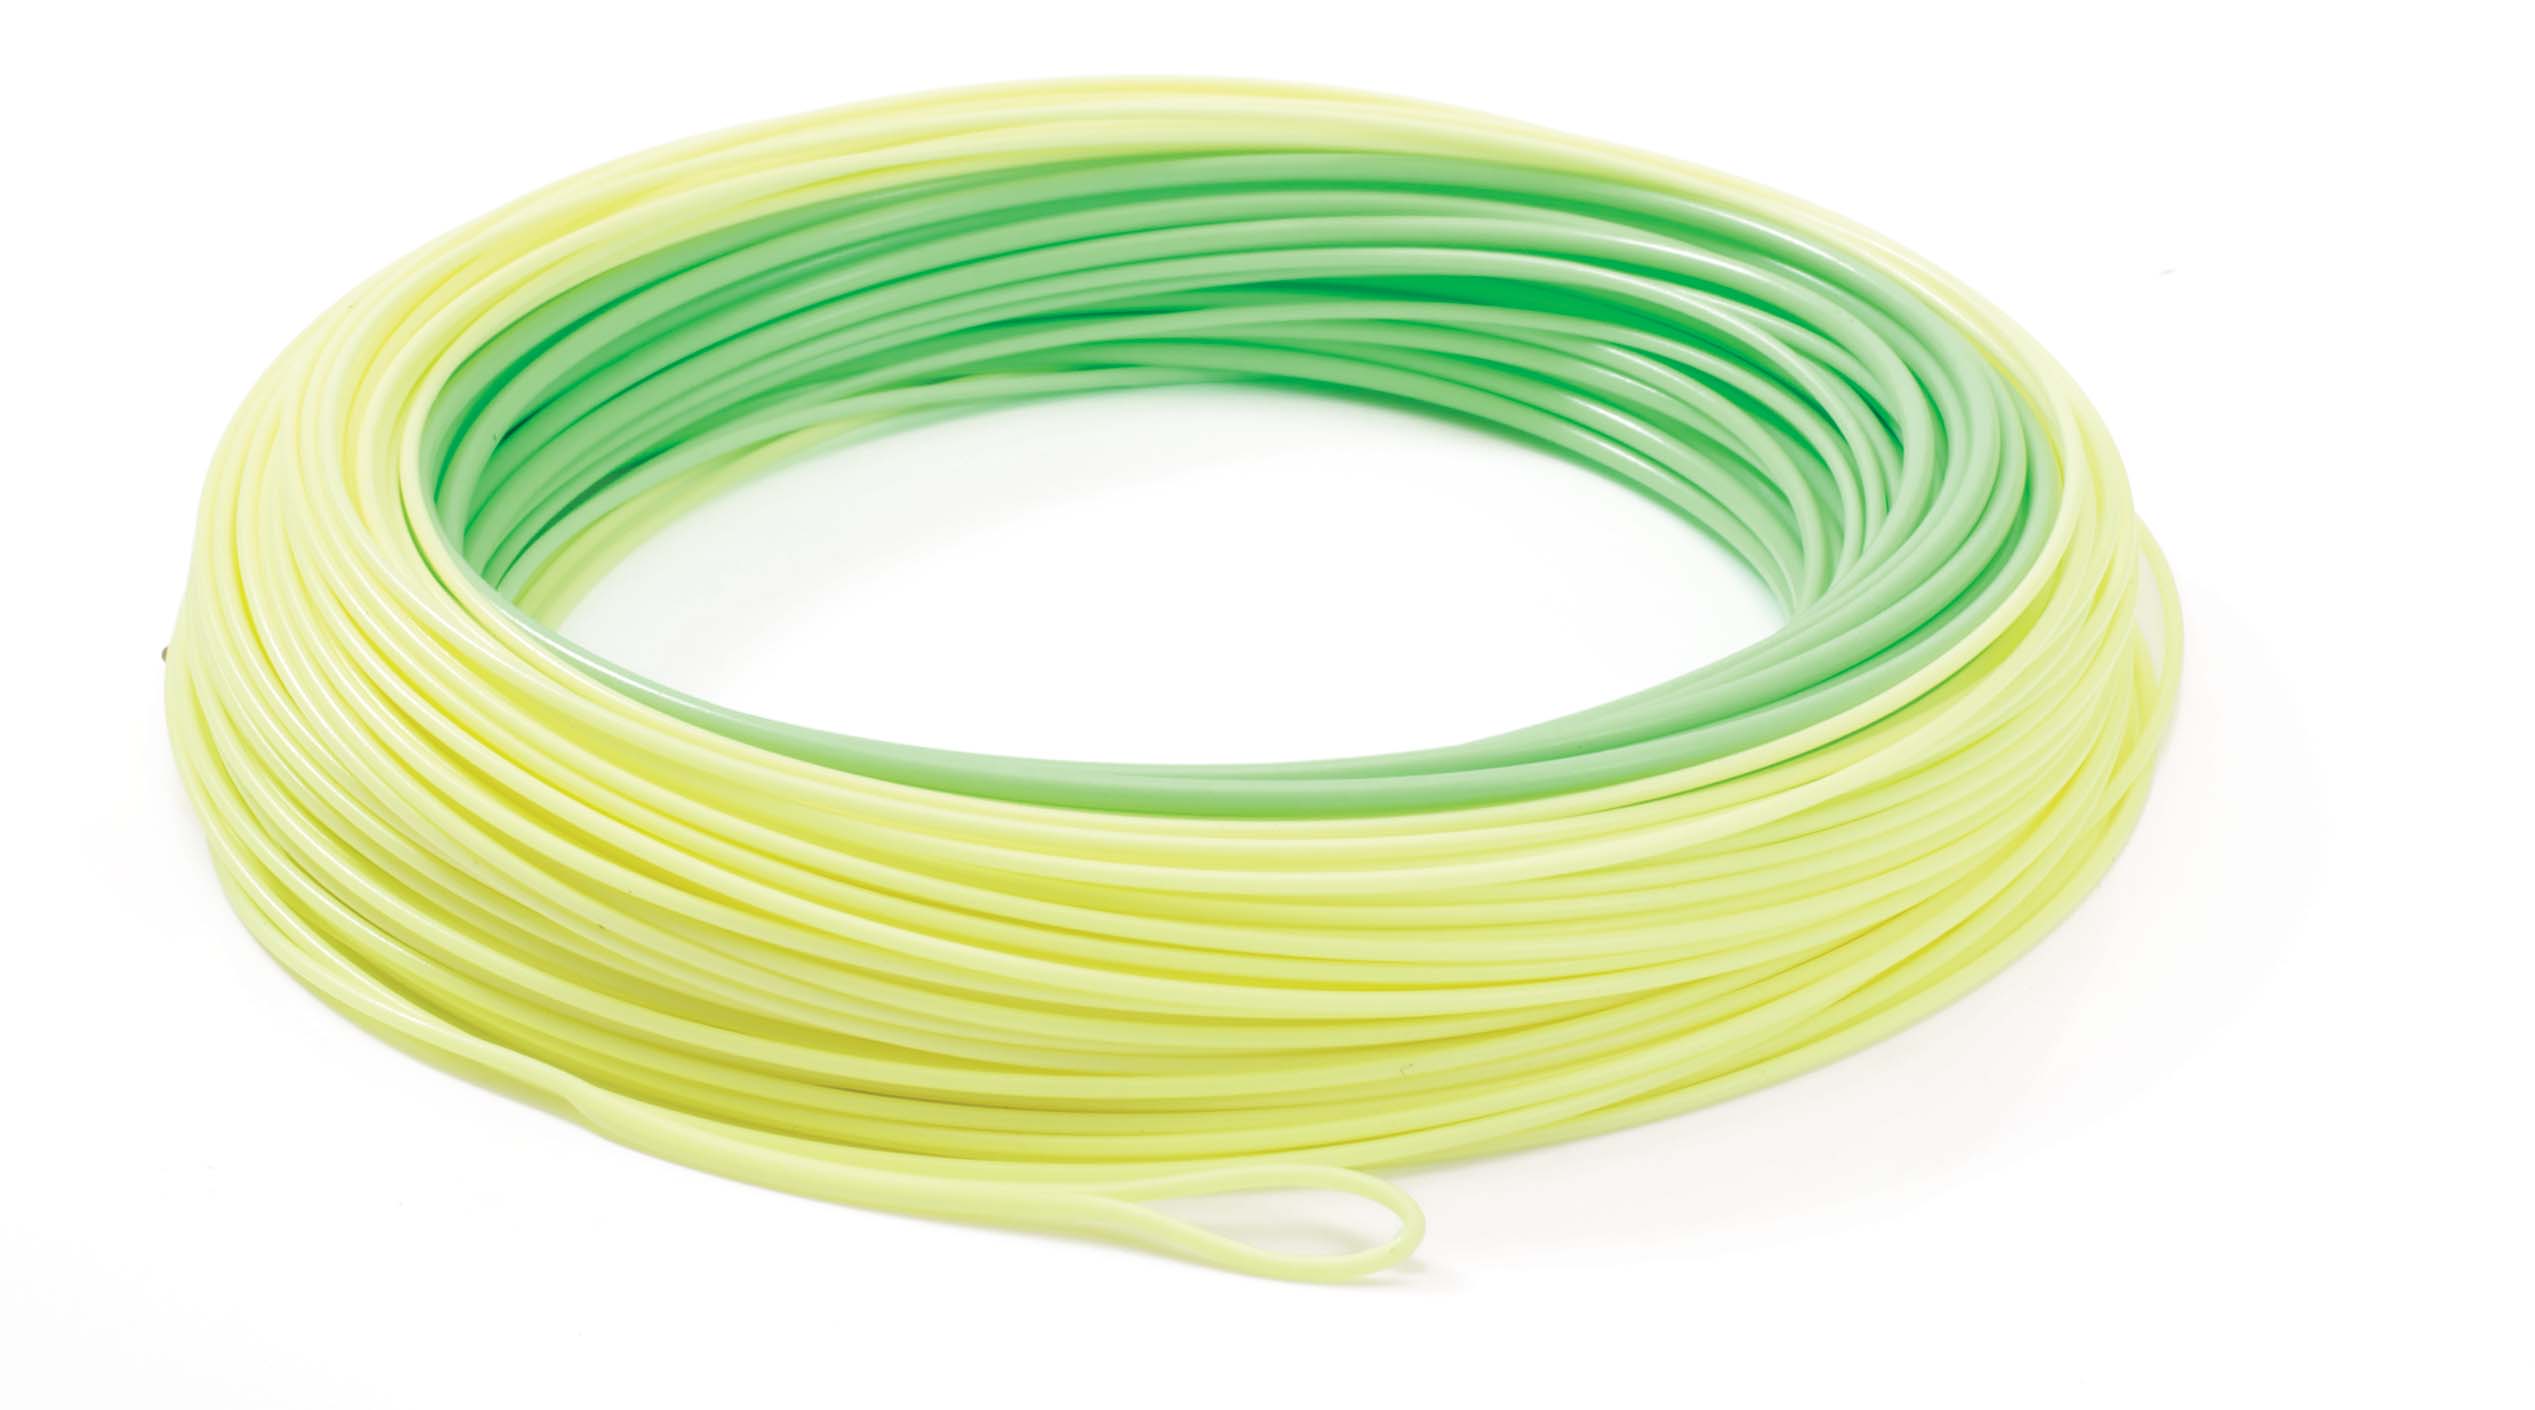
Some models of fly line will differentiate the head section from the running line by using a different color (for example, Cortland’s Compact Float sports a green head section followed by a bright yellow running line).
If your line is a solid color, you can use a Sharpie laundry marker to draw a six-inch long black band at the end of the head section.
When casting, simply get this band outside the rod tip two or three feet before you make your delivery.
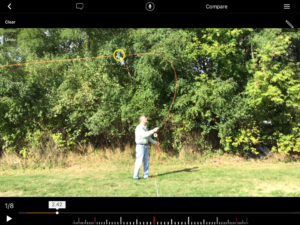
[Figure 3. The Hudl Technique app helps pinpoint the mark on the fly line that signifies the end of the head section. With only a couple of feet of overhang, the author is positioned to make a long delivery.]
Tighten the knot so that it bites into the running line’s coating and trim the ends of the knot close. This will allow you to locate the ideal amount of carry even in the dead of night, and the monofilament knot will shoot unimpeded through the guides.
If, for some reason, you don’t know the head length of your fly line you can find it easily using a dial caliper. Simply take readings along the running line forward towards the tip and note the point at which the line becomes measurably thicker.
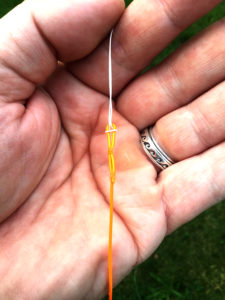
[Figure 4. Use a laundry marker to mark your lines for weight. This line is coded as an 8-weight.]
I use a dash to indicate the number five and a dot to indicate the number one. So an 8-weight line would be marked with a single dash and three dots, a 10-weight line would be marked with two dashes, etc.
Trimming to Length
Fly lines come in a variety of lengths, from about 82 feet to 110 feet or more. If I buy a fly line that’s longer than 90 feet, I’ll trim the running line to make it 90 feet.
This will fit on the reel much better than a 100-foot line, and it will allow me the longest cast I would ever need in a fishing situation–even off the deck of a boat (if you need to cast more than 90 feet, I suggest you first try moving closer to the fish).
In practical terms, any fly cast over 100 feet is a parlor trick.
Loops at Each End
 A loop at each end of your fly line will allow you to change leaders quickly and also change the entire fly line quickly, if needed. Some fly lines come pre-looped at each end, but if yours doesn’t you can quickly make your own.
Use a nail knot to attach six inches or so of heavy butt-section to the fly line’s tip and tie a perfection loop in the end.
To put a loop at the end of the running line, fold the running line back on itself and secure it using two nail knots tied with six-pound monofilament (trim the tag close so it won’t catch in your guides on a run).
A Bimini twist or spider hitch tied in your backing will allow you to join the fly line with a loop-to-loop connection.It’s my hope that this article has done something to demystify your choosing a fly line and has given you some tips and tricks you can use to get the most out of yours.
 Bio: A fly casting instructor for nearly 25 years, George Roberts produced the first video fly casting program devoted exclusively to salt water: Saltwater Fly Casting: 10 Steps to Distance and Power. He’s also the author of Master the Cast: Fly Casting in Seven Lessons (McGraw-Hill, 2002). For more information on fly casting and fly angling you can visit George’s website: www.masterthecast.com